前言
刚换了电脑,工作环境必须要有,发现之前的记录比较零散,搞定这一套环境花了一些时间。如果下次又换环境了,再来一次就比较浪费时间。所以趁这次把之前记录的信息都整理到这里
当前配置系统环境:Mac-OS-10.14
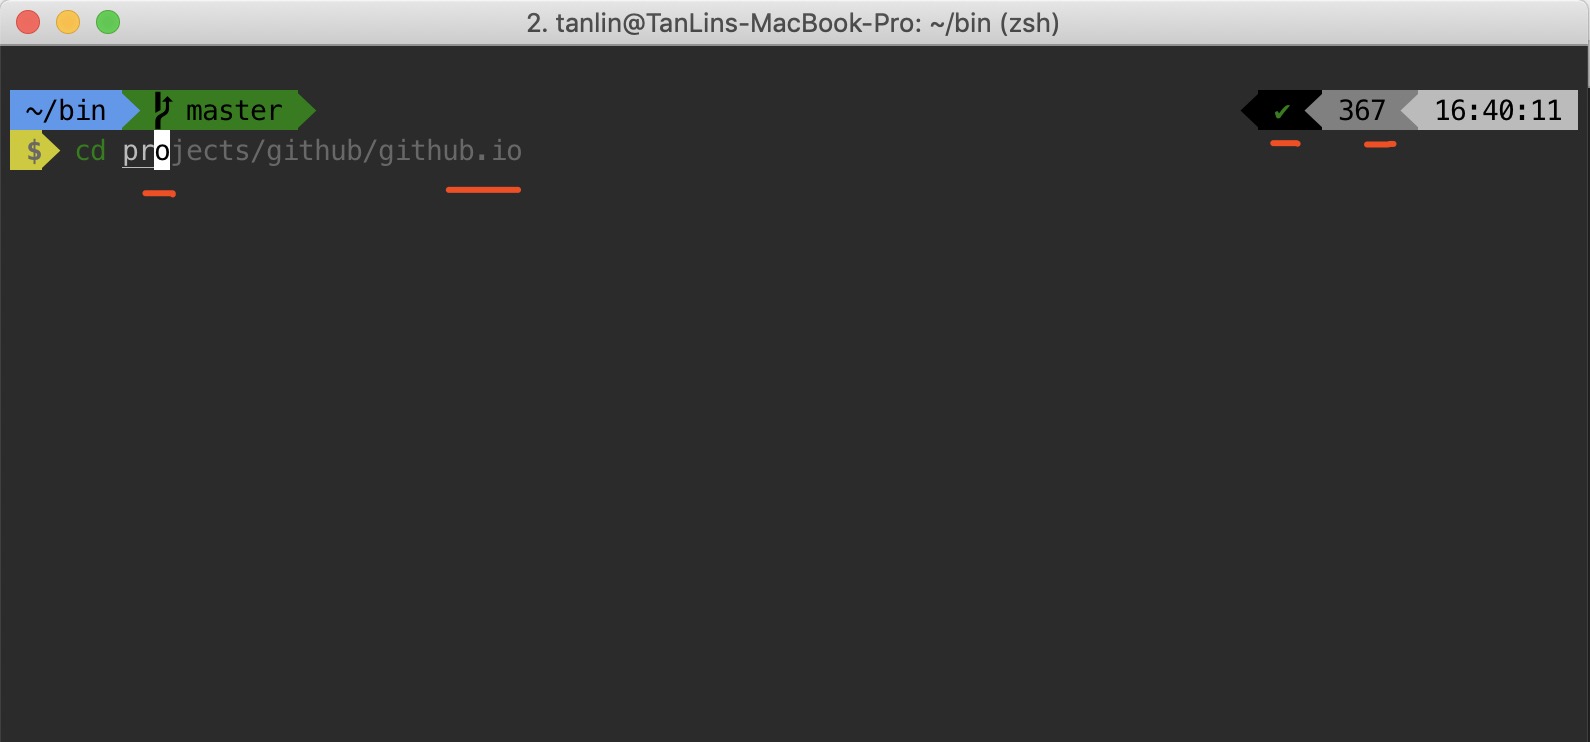
iTerm2 效果如下
包安装器 Homebrew
Homebrew installs packages to their own directory and then symlinks their files into /usr/local.
/usr/bin/ruby -e "$(curl -fsSL https://raw.githubusercontent.com/Homebrew/install/master/install)"
zsh 家族
点击oh-my-zsh 预览zsh
// 安装
sh -c "$(curl -fsSL https://raw.github.com/robbyrussell/oh-my-zsh/master/tools/install.sh)"
好用的终端 iTerm2
iTerm2 is a replacement for Terminal and the successor to iTerm. It works on Macs with macOS 10.12 or newer. iTerm2 brings the terminal into the modern age with features you never knew you always wanted.
autosuggestions
Fish-like fast/unobtrusive autosuggestions for zsh. It suggests commands as you type, based on command history. Requirements: Zsh v4.3.11 or later
克隆autosuggestion仓库到 zsh 的 custom 目录下 (默认 ~/.oh-my-zsh/custom/plugins), 然后, 添加配置到 ~/.zshrc
$ git clone https://github.com/zsh-users/zsh-autosuggestions ~/.oh-my-zsh/custom/plugins/zsh-autosuggestions

$ vim ~/.zshrc

// 找到 plugins 节点,添加zsh-autosuggestion
plugins=(
  git
  zsh-autosuggestions
)
主题 powerlevel9k
语法 highlight 标记
$ brew install zsh-syntax-highlighting
安装 Powerlevel9k Theme 各种平台的下载介绍Powerline-download-Intro Mac 上步骤如下
// brew tap sambadevi/powerlevel9k
// brew install powerlevel9k
$ git clone https://github.com/bhilburn/powerlevel9k.git ~/.oh-my-zsh/custom/themes/powerlevel9k
$ vim ~/.zshrc

### theme
ZSH_THEME=`"powerlevel9k/powerlevel9k"`
### syntax highlight
source /usr/local/share/zsh-syntax-highlighting/zsh-syntax-highlighting.zsh
字体 Powerline
Install Powerline Fonts
git clone https://github.com/powerline/fonts.git --depth=1
cd fonts
./install.sh
cd ..
rm -rf fonts
// unistall the font if you need
// ./uninstall.sh

// setting path is
item2 -> Perferences -> Profiles -> Text -> Font -> Meslo LG M for powerline
AndroidStudio terminal 显示乱码
AndroidStudio -> Preferences -> Editor -> Font
AndroidStudio -> Preferences -> Editor -> Color Scheme Font
都选择’Meslo LG M for powerline,或者你自定义的iTem2字体
去掉zsh rm -rf * 时提示
setopt rm_star_silent
添加自己的日常使用的shell到zsh里
我的日常使用的shell仓库 Daily Shell 后面需要移除很多不常用的
git clone https://github.com/tanliner/daily-shell.git ~/bin/
Sublime-Text 安装
太慢了,花了好几个小时,为什么…
$ brew cask install sublime-text
Github ssh-key
要向github上传代码,需要上传本机的公钥给github,一台新设备创建公钥的命令为:
ssh-keygen -t rsa -C "your_email@example.com"
复制~/.ssh/id_rsa.pub 内容到 github 然后点击Add SSH Key
录屏App
LICEcap 录制选定屏幕区域,生成gif,很好用
Git 相关
IDEA test 失败
AndroidStudio / IDEA 需要同意 xCode 条款
Preferences->version control->test git
error:
Agreeing to the Xcode/iOS license requires admin privileges, please re-run as root via sudo.
解决
$ sudo xcodebuild -license accept
Git status unicode
git config --global core.quotepath false
config
最终配置如下
[user]
	name = tanlin
	email = lintan.spring@gmail.com
[alias]
	st = status
	cm = commit
	co = checkout
	br = branch
	df = diff
	dfc = diff --cached
	dr = --delete --remotes
	sth = stash
	pr = pull --rebase
	cp = cherry-pick
[pager]
	branch = false
	log = true
	diff = true
[core]
	quotepath = false
Development tools
Android Studio
Jetbrains-IDEA
Jetbrains-Webstorm
Idea 本地激活
Jekyll blog 本地调试
通过 Jekyll 来构建github主页,安装步骤如下
$ sudo gem install jekyll
$ sudo gem install jekyll-paginate

// 查看安装成功后的版本
$ jekyll --version
Jekyll 常用命令
jekyll build & jekyll server & pkill -f jekyll
~/.zshrc 别名如下
# for jekyll
alias jkykill='pkill -f jekyll'
alias jkybuild='jekyll build'
alias jkybuildw='jekyll build --watch'
alias jkystart='jekyll server --detach'
MySQL-安装
Nginx 安装
brew install nginx
Nginx 默认配置文件 nginx.conf Mac 路径: /usr/local/etc/nginx/nginx.conf
    ...
    server {
        listen       8080;
        server_name  localhost;

        #charset koi8-r;

        #access_log  logs/host.access.log  main;

        location / {
            root   html;
            index  index.html index.htm;
        }
    }
    ...
nginx -h 查看支持的命令
参考: Installing Nginx in Mac OS